At the risk of mixing metaphors (or, at least, materials), it’s a “golden” age for plastic.
Let’s do the math: the market for plastic injection molded parts stands at $325 billion and is expected to surge 5.7% by 2025, with more to come after that. The hyper-developing economies of Asia, as well as improved processes and new resin chemistry, are driving this growth. Then there’s the use of plastic components in increasingly complicated applications in practically any industry you can name. All of this poses tremendous opportunities—and challenges—for industrial designers and product engineers.
Historically, the most potent advantage of plastic injection molding is its ability to crank out ginormous volumes with a low unit price compared to development costs (for molds). However, these same high volumes necessitate the use of sound design protocols. Even tiny, incremental improvements to mold design, which would probably be negligible in small run production, can save scads of money if you’re talking millions of finished parts. All of this cries out for excellent design logic at the get-go of any tooling initiative.
The right tool for the right resin
Every plastic resin has unique chemical and mechanical properties that need to be adhered to the tool steel that’s going to be used to mold it. For example, when using PEEK, a high-temperature plastic resin most often seen in the auto, aerospace, and healthcare applications, the mold needs to tolerate higher temperatures while maintaining dimensional integrity.
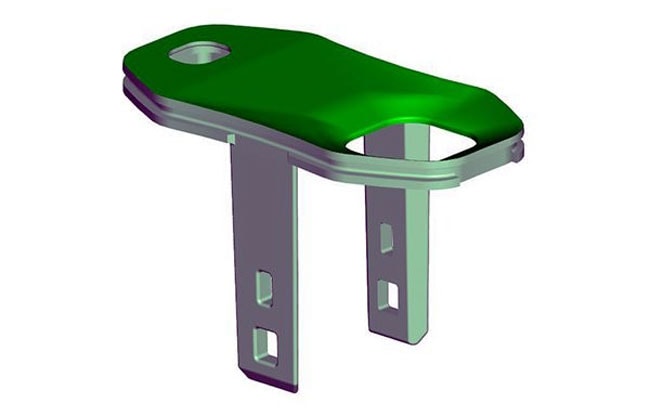
Item made from PEEK plastic
For this mold, a good option is S136 stainless steel. This variety of stainless steel is ideal for extended production runs at higher temperatures, which is absolutely necessary for molding PEEK items. Stainless steel is resistant to the cutting-action of glass fiber, and takes a high polish for a stunning surface quality finish.
As noted, PEEK must be injected at high temperatures and pressures and therefore the tool must be extensively heat-treated. As you know, the treatment is completed prior to final polishing but subsequent to CNC machining.
There’s more to be said on this topic, but that’s a subject for later blog posts!